

If you missed my first duct tape post you can view it HERE.
My oldest is learning to write her letters and will go through a stack of paper in a day if I let her.
To save on paper I decided to make a dry erase board that she can practice on and then erase and start over whenever she wants to.
I started by cutting a piece of cardboard (one side of a cereal box) to the same size as a standard sheet of paper.

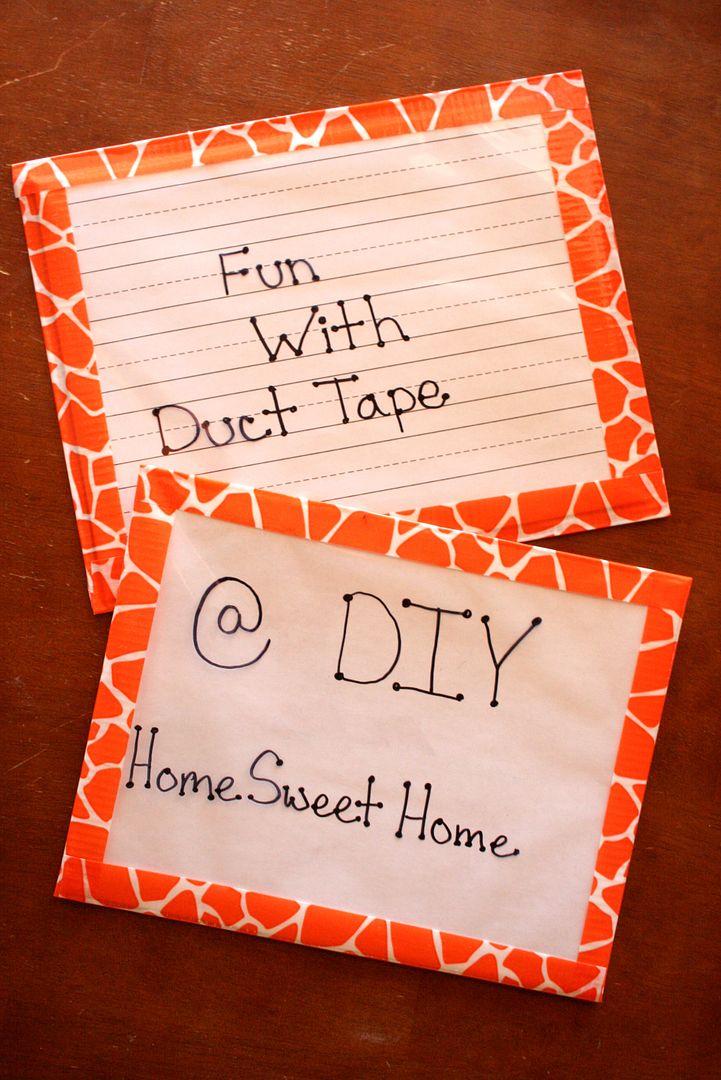
I sliped the cardboard into a plastic sheet protector. I placed a blank sheet of paper on one side of the cardboard and a handwriting sheet on the other side.

Then I added some duct tape to all four sides of the sheet protector.


And voila... DIY dry erase boards.
Connect with me & stay up to date with new posts on DIYHSH
Our classroom whiteboards got so yucky last year. This is a great idea for students to personalize their own whiteboards and they love those patterned duct tapes right now. This will be one of the first home projects of next year. Thanks!
ReplyDeleteSo glad that you liked them!!
DeleteNifty! I'm loving that giraffe print!
ReplyDeleteThis one is definitely going into my book of projects(:
- Savannah
www.savannahsalinas.blogspot.com
Love this project! Have you linked it up with me yet at Wow Us Wednesday?
ReplyDeleteGreat tips. very well-written, keyword-oriented and incredibly useful. its really interesting to many readers. I really appreciate this, thanks
ReplyDeleteLove this for my home board i went to our local dollar store and bought the largest photo frame i could and painted the back cardboard piece and use the glass to write the menu for the day and personal reminders on it
ReplyDelete